How to Add PS1 BIOS to EmuDeck

To play PlayStation 1 (PS1) games smoothly on EmuDeck, you need to install the correct PS1 BIOS file. Without it, many games won’t run properly or might not launch at all.
Adding the BIOS is simple: just place the correct .bin file in the right folder and let EmuDeck detect it. Whether you’re using a Steam Deck or a PC, this guide will walk you through the full setup so you can start playing PS1 classics in minutes.
What Is EmuDeck?
EmuDeck is a powerful all-in-one tool designed to make retro gaming easy, especially on the Steam Deck and Windows PCs. Instead of manually setting up each emulator one by one, EmuDeck automates everything for you. It installs the best emulators, configures them with the right settings, and organizes your game files all with just a few clicks.
If you’re trying to play PS1, PS2, GameCube, Nintendo DS, or other classic games, EmuDeck helps everything run smoothly without technical headaches. It also supports features like custom artwork, cloud saves, and controller configuration.alike.
For beginners, EmuDeck is perfect because it simplifies the whole emulation setup. And for advanced users, it saves time and gives full control to customize as needed. If you’re serious about retro gaming, EmuDeck is one of the best tools to start with.
Preparation Checklist
Before adding the PS1 BIOS to EmuDeck, make sure you have:
Once everything is ready, you can move the BIOS file to the right folder and start playing PlayStation 1 games without errors.
How to Add PS1 BIOS to EmuDeck – Step-by-Step Guide
To play PS1 games smoothly on EmuDeck, you need to add the correct BIOS file in the right folder. Without this, many games won’t run or may crash. Follow these steps carefully, and you’ll be ready to enjoy PS1 games with no errors.
Step 1: Get a Valid PS1 BIOS File
Only scph5501.bin is used in most examples, but some emulators expect a combination of files (scph5500.bin, scph5501.bin, scph5502.bin) for full regional support (Japan, US, Europe). DuckStation and RetroArch both benefit from this. Before anything else, make sure you have a proper PS1 BIOS file. Common PS1 BIOS filenames are:
scph5501.binscph1001.binscph7001.bin
These BIOS files work with both DuckStation and RetroArch’s Beetle PSX core, which are typically set up by EmuDeck for PS1 emulation.
Note: Don’t rename the file. Keep its original name so EmuDeck can detect it easily.
Step 2: Locate the BIOS Folder in EmuDeck
After preparing your PS1 BIOS file, the next step is to place it in the correct BIOS directory used by EmuDeck.
- On Steam Deck (SteamOS):
- Switch to Desktop Mode.
- Open your file manager and navigate to:
/home/deck/Emulation/bios
This is the default folder where EmuDeck looks for all BIOS files.
- On Windows (if EmuDeck is installed):
- Open File Explorer.
- Go to:
C:\Emulation\bios
This folder serves the same purpose as on Steam Dec
Important: Before copying your PS1 BIOS, check that the folder is either empty or doesn’t already contain a PlayStation BIOS file. Duplicate or conflicting BIOS files (for example, multiple versions with slightly different names) can cause detection issues.
Step 3: Move the BIOS File to the BIOS Folder
Once you’ve located the correct BIOS folder, it’s time to place your PlayStation BIOS inside it.
- Copy your PS1 BIOS file (for example,
scph5501.bin). - Paste it into the
/biosfolder you opened earlier:- On Steam Deck:
/home/deck/Emulation/bios - On Windows:
C:\Emulation\bios
- On Steam Deck:
- You can use drag-and-drop or the standard copy and paste function in your file manager.
Tip: Make sure the filename is spelled exactly (lowercase, no extra spaces). EmuDeck is case-sensitive on Linux (Steam Deck), so scph5501.bin is not the same as SCPH5501.BIN.
Step 4: Configure EmuDeck to Recognize the BIOS
In most cases, EmuDeck will automatically detect your PS1 BIOS once it’s in the correct folder. Still, it’s best to confirm the settings:
- Launch EmuDeck on your Steam Deck or PC.
- Open either EmulationStation or RetroArch (depending on which frontend you use).
- Go to: Settings → Directory → System/BIOS.
- Make sure the directory is set to the same folder where you placed the BIOS:
- Steam Deck:
/home/deck/Emulation/bios - Windows:
C:\Emulation\bios
- Steam Deck:
- If it matches, EmuDeck will load your BIOS automatically whenever you run PS1 games.
Step 5: Test the BIOS Installation
Now it’s time to test if everything is working.
- Load any PS1 game from your game library.
- If it runs without any BIOS error or black screen, you’re good to go!
If you see errors like “No BIOS Found”:
- Check file name (
scph5501.bin) - Make sure it’s in the right folder
- Restart EmuDeck and try again
Add PS1 Games to Steam with Steam Rom Manager
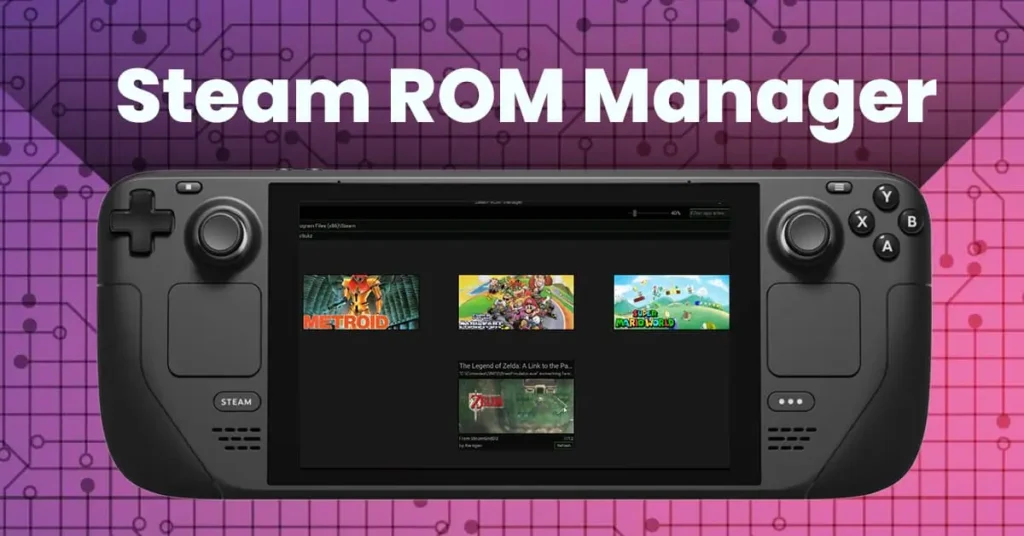
If you’d like your PlayStation 1 games to appear directly in Steam’s game mode, you can do that using Steam Rom Manager. This step is optional but helpful if you prefer launching games from your main library with custom artwork and controller support.

Here’s how you can set it up:
- Open Steam Rom Manager through EmuDeck’s tools section.
- Scroll to the list of available systems and turn on the PlayStation (PSX) option choose DuckStation or RetroArch based on your setup.
- Click the “Preview” button to generate your game list.
- Once you see your games, click “Generate App List” and then “Save App List.”
Your PS1 games will now show up in your Steam library, ready to launch just like any other title.
Optional: Check Your BIOS File Integrity
To avoid any game errors or black screens, it’s helpful to confirm that your BIOS file is complete and not corrupted. One way to do that is by checking its MD5 hash value, which is like a digital fingerprint for the file.
For example, the correct hash for scph5501.bin is:
8dd7d5296a650fac7319bce665a6a53c
You can use a free MD5 checker like WinMD5 on Windows or online tools where you upload the file to compare its hash. If it matches, you’ll know your BIOS file is correct and ready to use.
This step isn’t required for everyone, but it’s a good practice if your games aren’t launching as expected, even after following the steps correctly.
If you’re looking to keep your game collection more organized or reduce file sizes, you can convert your .bin and .cue files into .chd format. EmuDeck supports this format and even includes a built-in tool for the conversion. CHD files are easier to manage and fully supported by DuckStation.
Conclusion
Adding the PS1 BIOS to EmuDeck is a one time setup that unlocks the full potential of your PS1 gaming experience. By placing the correct BIOS file in the right folder and confirming it’s recognized by EmuDeck, you ensure smoother gameplay, better compatibility, and fewer crashes.
If you’re on a Steam Deck or PC, this process is simple if followed step-by-step. Now that your BIOS is properly configured, you’re ready to enjoy your favorite PlayStation 1 classics without any technical hiccups. Keep your BIOS backed up safely, and happy retro gaming!
FAQs
Q1. Can I use any region BIOS (like Japan or Europe) with EmuDeck?
Yes, EmuDeck supports different region BIOS files like scph5500.bin (Japan), scph5501.bin (USA), and scph5502.bin (Europe). Choose one that matches your game region for best compatibility.
Q2. Do I need to re-add the BIOS after updating EmuDeck?
Usually no. EmuDeck updates don’t remove your BIOS files. But it’s always good to double check the folder after any major update.
Q3. Can EmuDeck run PS1 games without a BIOS file?
No, many PS1 games will not load or may have issues if the correct BIOS file isn’t installed.
Q4. What is the exact folder path to place the PS1 BIOS in EmuDeck?
ou should place the BIOS file in the bios folder inside EmuDeck’s installation directory. The exact path may vary based on your device (Steam Deck or PC).
Q5. Does EmuDeck automatically detect the PS1 BIOS file?
Yes, if it’s placed in the correct folder and named properly (e.g., scph5501.bin), EmuDeck will detect it without extra configuration.
Q6. Will EmuDeck show a BIOS error if the file name is incorrect?
Yes, if the file name doesn’t match what the emulator expects, the BIOS won’t load, and you may get a “BIOS not found” error.
Q7. How can I check if my BIOS is working in EmuDeck?
Launch a PS1 game. If it loads properly and you don’t see a BIOS error, then the file is working as expected.


I do believe all of the concepts you have inhtroduced to your post.
They’re very convincing and can certainly work.
Thanks for the post.